Please follow these directions to ensure you have a seamless and effortless experience in your online lesson. In addition to the basics of preparing your instrument and your score, it’s essential that the audio and video settings are configured properly. Below you will find detailed instructions for enabling the “Original Sound for Musicians” setting in Zoom, choosing a microphone, and positioning the camera. I’m always happy to run a sound check outside of lessons and to help troubleshoot when necessary. Contact me if you need assistance!
Lesson Setup Checklist
-
Start setting up ten minutes early so that that we can start on time!
-
A dedicated metronome that sits on the piano is important for children. I highly recommend this Seiko metronome. My favorite metronome app is the Impulse App. In a pinch, simply Google “metronome” and you’ll have a metronome.
-
If your score does not have measure numbers written in, please count the measures and label the number at the start of each line prior to sharing it with me. Both student and teacher need these measure numbers to be able to easily navigate the score together.
-
Please make sure I have a copy of your score. I prefer scores in PDF form. Alternatively, you may share the score via screen share directly from a tablet.
-
The bottoms of forearms should be level (or nearly level) with the tops of keys. If you need height, get an adjustable bench, furniture risers, or books (not pillows please)
-
Locate the meeting ID for online lessons in the email calendar reminder.
-
Click here to view the detailed audio setup instructions! Video conferencing platforms typically optimize audio for the human voice, attempting to eliminate loud noises like the sound of a piano. The Original Sound setting tells the platform not to make any changes to the audio and allows me to hear the piano loud and clear.
-
Click here to view the detailed camera setup instructions! The most important thing is that the hands are shown on camera, from an angle where we can see the top of the hands to some degree.
All About Audio Settings
To enable the original audio, adjust the following in Zoom’s Desktop Application.
Open Zoom meeting settings in the desktop application
Uncheck the box that says automatically adjust microphone volume
Toggle the “Original Sound for Musicians” Switch (make sure echo cancellation is enabled too)
Turn on Original Sound in the meeting at the beginning of every lesson.
How to Turn on Original Sound in the Desktop App
How to Turn on Original Sound in the iPhone App
Sometimes PC Audio Settings Need Adjustment Too
Some PCS come with additional audio processing settings that must be turned off. These “audio enhancement” settings optimize for voice and block the sound of the piano. Click here for information about HP settings. Click here for information about general Windows settings. If it’s not possible to change these settings we can explore alternatives.
Improving Audio Quality with Cleanfeed
In some cases, it may be necessary to use a service called Cleanfeed for audio streaming. When using an employer owned laptop, the ability to change audio settings may be limited, and this provides a workaround for that. Additionally, Cleanfeed offers the highest quality audio, which greatly improves the full-sound of a grand piano.
Cleanfeed requires two things:
Must use Chrome Browser on a laptop
All participants must use headphones
If we choose to use this service, you will receive a join link by email prior to each lesson. Simply join Cleanfeed in a Chrome browser and you’re all set!
Do I need an external microphone?
The use of an external microphone is not required, but it does greatly improve audio quality. Most Apple devices have acceptable microphones, but other laptops and tablets do not. I typically let students know if there is a problem with their audio quality.
The classic choice of a USB mic is the Blue Yeti Mic. Alternatively Amazon brand mics Tonor and Fifine are acceptable lower priced options. Do not use the microphone on your headphones! These are optimized for the sound of your voice and cannot handle the sound of a piano.
For those who are into music production and have an audio interface, it’s possible to select this as your microphone option in Zoom. If you play on a digital piano, you can run the sound directly through an audio interface for the cleanest clearest tone possible.
To use an external microphone in Zoom, you will head over to audio settings and make sure your desired microphone is selected.
Finding the Best Camera Position
You can now add multiple devices to our Zoom meetings. The only requirement is that I must see students hands! It’s nice if I get to see their face too. Here are the best places to have a camera, in priority order:
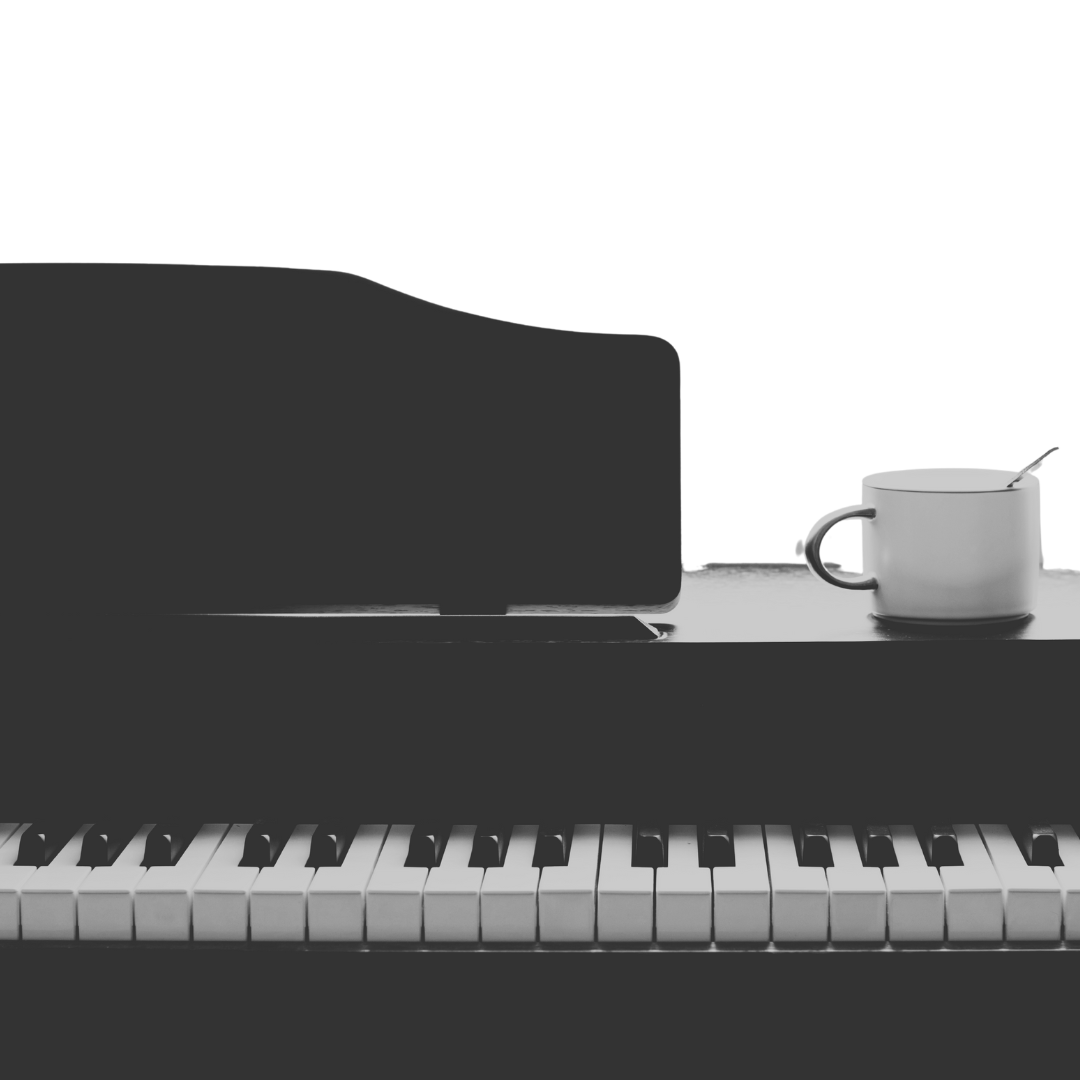
Profile view - It is my preference to see the students from the side view with the camera high enough that I can see the tops of the keys. I do not like having an overhead view since it’s best if I can see how the student is sitting and how they move their arms.
Face view/screen sharing - Place a device on the music rack of the piano so that students don't have to turn to see me and to utilize screen sharing
Lighting - It’s best if you aren’t backlit, however, the lighting does not need to be perfect.
Overhead view - Although it is can be nice to have a view of the hands from overhead, it is not a requirement.
Join from a Second Device
This is totally optional, but many students like to join the meeting with a phone or tablet PLUS a computer. Placing a tablet or phone on the music rack allows the students to see my face while we work together. It also allows for easy sharing of scores, music games, recordings, videos, and more!
When joining the meeting from a second device:
When prompted by Zoom to join audio; only join audio with ONE device. (Unless you like echo chambers…)
Choose the device with the best microphone for the audio.
Katie’s Gear
Below is the list of equipment I currently use to run online lessons. When I began offering online lessons in 2018 I simply used my laptop, and the setup has evolved a lot since then!
Audio Equipment
Video Equipment
Older Logitech Webcam (overhead)